Adding Moulding To Flat Kitchen Cabinets - Serendipity Soiree: May 2011 : Start with the oak flat casing, cut the casing to match your entire cupboard length (84″ in our case).
Adding Moulding To Flat Kitchen Cabinets - Serendipity Soiree: May 2011 : Start with the oak flat casing, cut the casing to match your entire cupboard length (84″ in our case).. The corners are mitered to form a frame that makes the door. (35) see lower price in cart. Fill in the holes and corners with wood filler and sand. I also installed molding on a plain area of the cabinets. I recommend at least 1 inch of space above the line to attach the molding.
Measure the perimeter of each door, going from corner to corner. Flat backed molding is installed around the perimeter on the face of the door, typically 2 inches from the edges on all four sides. $50 in molding definitely helped improve the looks of this kitchen. Instead, it curves to fit the contours of the cabinet and create a tight fit. (35) see lower price in cart.
Adding wood trim to kitchen cabinets from providenthomedesign.com Providing them with a bit of refinement. Adding plywood trim is an economical way to convert plain or outdated cabinets to shaker style. Start with the oak flat casing, cut the casing to match your entire cupboard length (84″ in our case). Our 90's home was graced with ugly flat panel interior doors that are nothing nice to look at. Then cut the angle at 45 degrees just like you did with the lumber, but this time the oak casing is on its side. Ace hardware expert, mike jakubowski, walks us. Then, take a dry cloth and wipe both mdf trim pieces and cabinet door. You will not be adding molding to the faces of the.
You can thus do this on your own or hire a professional.
Here's how to do it: Measure your cabinet door to determine how much molding you'll need. First, we start with a plain 'ole stock cabinet from home depot. Remember to angle your radial arm saw accordingly. Provide a nailing surface for crown moulding by attaching solid wood mounting strips to the top edges of the cabinets. Measure around the perimeter of the exposed sides and ends of the cabinets. Kitchen cabinet molding and trim are sometimes unavoidable for some conditions. I recommend at least 1 inch of space above the line to attach the molding. This will remove dust to help the liquid nails or wood glue adhere. $50 in molding definitely helped improve the looks of this kitchen. Ace hardware expert, mike jakubowski, walks us. When they are dry, use wood glue to affix the molding and embellishments to the cabinet. Mark where the crown molding will sit on the cabinet use a straight edge (such as a long level) to mark where the crown molding will sit on the cabinet facing.
I printed the picture of your trim and took it to lowes and they had no idea what it was.i found a piece of mdf that was 1 1/2 in. Then, take a dry cloth and wipe both mdf trim pieces and cabinet door. Flat front laminate cabinet doors are so plain and basic. Adding shaker trim to flat panel cabinets. Then cut the angle at 45 degrees just like you did with the lumber, but this time the oak casing is on its side.
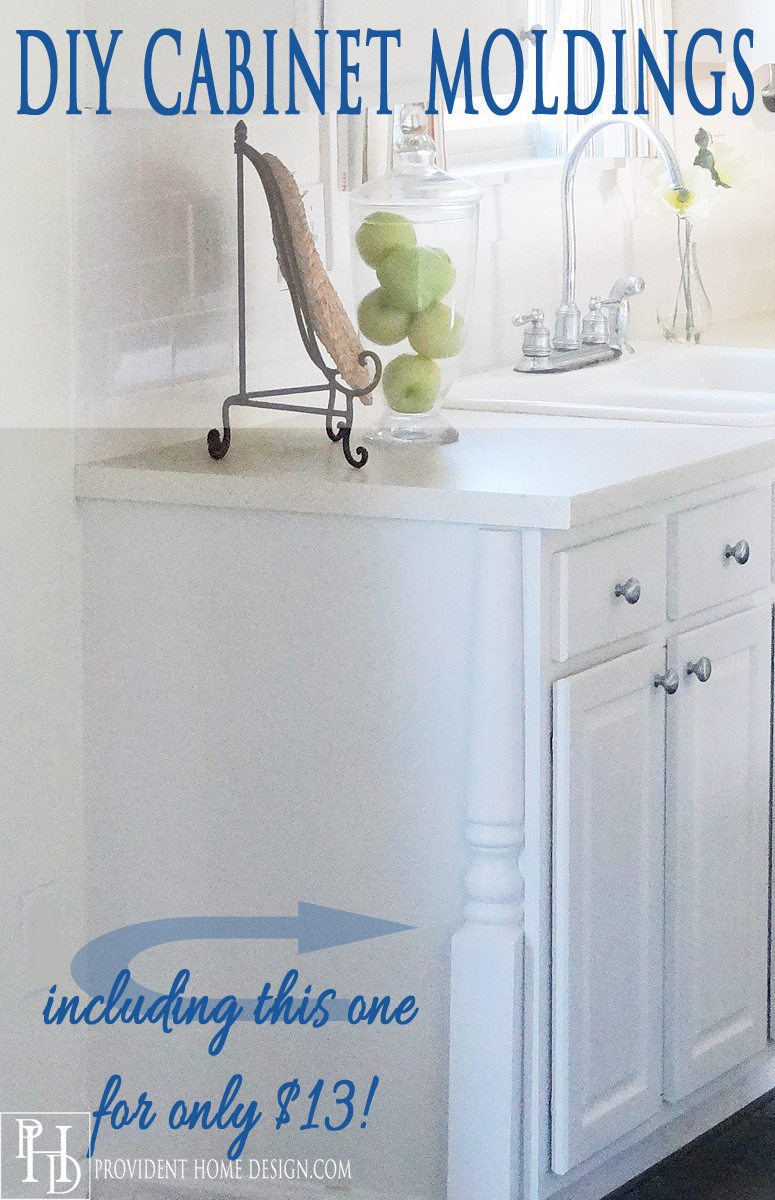
add molding to flat cabinet doors | Cabinet Door | Redo kitchen cabinets, Best kitchen cabinets ... from i.pinimg.com Tall cabinet filler in polar white. Cabinet door makeover kitchen cabinet doors kitchen redo new kitchen kitchen remodel kitchen design dog cabinet cabinet fronts kitchen cupboards. Mark where the crown molding will sit on the cabinet use a straight edge (such as a long level) to mark where the crown molding will sit on the cabinet facing. Cosmetic subjects, rope trimming and cast deliver embellishment to cabinet doorways that are apartment. Outside corner molding in dove gray. ^^^ for flat fronted cabinets, for example, you can go to home depot and buy thin moulding trim that is typically used for paneling, but instead you could have it cut to leave a 2″ space between the trim and the edges of the cabinets and affix it to the cabinets using wood glue and finishing nails. This doesn't necessarily have to happen in this order, but it's something you can be doing while you're waiting for your paint to dry. Then cut the angle at 45 degrees just like you did with the lumber, but this time the oak casing is on its side.
Add moulding to flat cabinet doors, saved by michelle christo.
Yup, we got a little trim. Cosmetic subjects, rope trimming and cast deliver embellishment to cabinet doorways that are apartment. Instead, it curves to fit the contours of the cabinet and create a tight fit. The corners are mitered to form a frame that makes the door. Flat backed molding is installed around the perimeter on the face of the door, typically 2 inches from the edges on all four sides. Start with the oak flat casing, cut the casing to match your entire cupboard length (84″ in our case). Provide a nailing surface for crown moulding by attaching solid wood mounting strips to the top edges of the cabinets. I painted over the grey plastic trim which made a huge difference too. Then, take a dry cloth and wipe both mdf trim pieces and cabinet door. This will remove dust to help the liquid nails or wood glue adhere. Paint the cabinet, molding, and embellishments the same color. Adding a little bit of detail to flat panel doors transforms them into something you can be proud of. Adding shaker trim to flat panel cabinets.
Flat backed molding is installed around the perimeter on the face of the door, typically 2 inches from the edges on all four sides. Paint the trim and any other areas that will be showing back inside your kitchen. Measure your cabinet door to determine how much molding you'll need. Mark where the crown molding will sit on the cabinet use a straight edge (such as a long level) to mark where the crown molding will sit on the cabinet facing. Scribe molding is a great way to make a cabinet look finished and make it look like it belongs.
update old flat-front cabinets by adding trim to the doors & painting | Update cabinets, Old ... from i.pinimg.com Mark where the crown molding will sit on the cabinet use a straight edge (such as a long level) to mark where the crown molding will sit on the cabinet facing. Ace hardware expert, mike jakubowski, walks us. Today, we're talking to you about updating interior doors with molding. You may have seen that i challenged myself to update our blue master bathroom on a strict budget. Providing them with a bit of refinement. (4) see lower price in cart. I printed the picture of your trim and took it to lowes and they had no idea what it was.i found a piece of mdf that was 1 1/2 in. I also installed molding on a plain area of the cabinets.
(use one long strip for a row of cabinets the same depth.) then apply wood glue to each strip, nail it in place, and let dry.
Tall cabinet filler in polar white. Here's how to do it: Measure your cabinet door to determine how much molding you'll need. But looked too thick.i would appreciate. Then cut the angle at 45 degrees just like you did with the lumber, but this time the oak casing is on its side. Flat front laminate cabinet doors are so plain and basic. Outside corner molding in dove gray. Fill in the holes and corners with wood filler and sand. Sand the doors lightly to remove any dirt and gloss from the old finish. We suggest installing this type of kitchen cabinet molding for functionality as they deflect the light glare, while also adding a decorative touch. Attach the moulding to the frame using nails and to the cupboard using glue. Add moulding to flat cabinet doors, saved by michelle christo. I recommend at least 1 inch of space above the line to attach the molding.